Introduction: Rolling a joint is considered an art form among cannabis enthusiasts, and mastering this skill can enhance your overall cannabis experience. Whether you’re a seasoned smoker or a curious beginner, this step-by-step guide will walk you through the process of rolling a joint like a pro. So, grab your favorite strain, some rolling papers, and let’s get started.
Materials You’ll Need:
- Cannabis flower of your choice
- Rolling papers
- Filter tips (optional)
- Grinder
- Small tray or surface
Step 1: Prepare Your Cannabis: Use a grinder to break down your cannabis into a consistent, fine grind. This ensures an even burn and a smoother smoking experience. Remove any stems or seeds that might affect the joint’s quality.
Step 2: Create a Filter Tip (Optional): If you prefer a filter (also known as a crutch or tip) for your joint, cut a small strip from a piece of cardboard or use a pre-made filter tip. Roll it into a cylinder shape, about the diameter of a pencil, and place it at one end of the rolling paper.
Step 3: Distribute the Cannabis: Hold the rolling paper in your non-dominant hand with the adhesive side facing up. Distribute the ground cannabis along the paper’s length, leaving a bit of space at the ends to ensure a clean seal.
Step 4: Shape the Joint: Use your fingers to shape the cannabis into a cylindrical form. If you’re using a filter, ensure it’s properly positioned, and your cannabis is evenly spread along the paper.
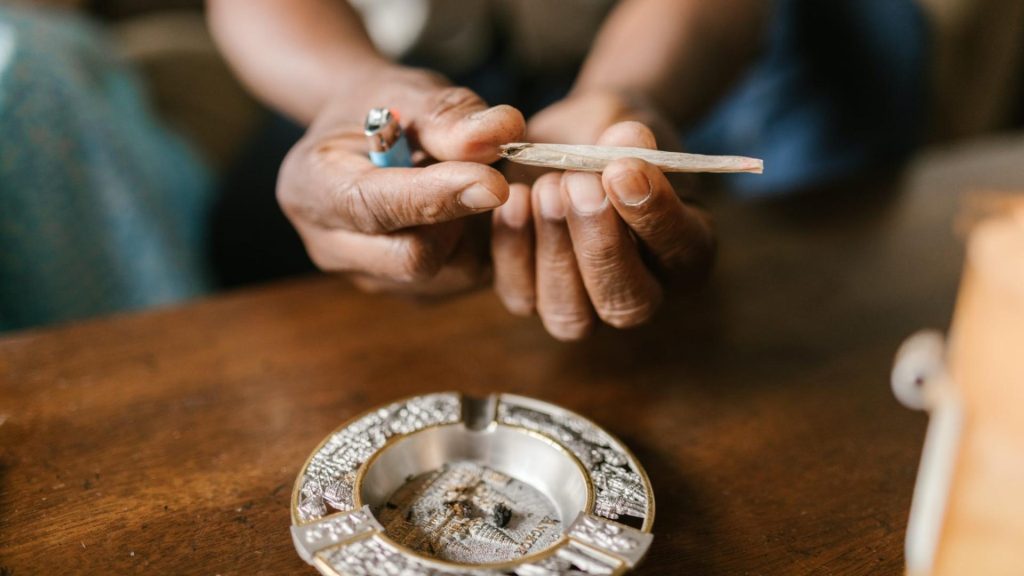
Step 5: Roll the Joint: Starting from the end closest to you, tuck the paper around the cannabis and start rolling upward with your thumbs and forefingers. Ensure the paper is evenly wrapped around the cannabis, and use your fingertips to shape the joint as you go.
Step 6: Seal the Joint: Once the joint is fully rolled, lick the adhesive edge and press it down against the paper to create a seal. Use your fingers to gently compress the cannabis and shape the joint.
Step 7: Pack the Joint (Optional): If you prefer a tighter joint, use a pen or a similar object to gently pack down the cannabis. Be careful not to overpack, as this can restrict airflow.
Step 8: Twist the Ends: Twist the open ends of the joint to secure the cannabis inside. This step ensures your joint is well-sealed and ready for a smooth smoke.
Conclusion: Rolling a joint is a skill that improves with practice, so don’t be discouraged if your first attempt isn’t perfect. Experiment with different techniques and find what works best for you. With time and a bit of patience, you’ll be rolling joints like a seasoned pro and enjoying your favorite strains in style. Happy rolling!
Writien by Ahsan Habib
Here’s more

Navigating the Culinary High: An Edible Dosing Guide for a Positive First-Time Experience
Introduction: Edibles offer a unique and flavorful way to experience the effects of cannabis, but achieving the perfect dose for

Navigating the Endocannabinoid System: Understanding Cannabinoids and Their Interaction with the Body
Introduction: Cannabinoids, the chemical compounds found in cannabis, have gained significant attention for their potential therapeutic effects and their interaction

Rollin’ Right: A Step-by-Step Guide on How to Roll a Joint
Introduction: Rolling a joint is considered an art form among cannabis enthusiasts, and mastering this skill can enhance your overall

Hemp vs. Cannabis – What’s the Difference?
Introduction: As the popularity and acceptance of cannabis-related products continue to rise, the terms “hemp” and “cannabis” are often used

Elevating Your Experience: A Deep Dive into Live Resin Cannabis Concentrates
Introduction: In the ever-evolving world of cannabis concentrates, live resin has emerged as a connoisseur’s delight, offering a potent and

Unveiling the Aromatic Symphony: A Comprehensive Guide to Cannabis Terpenes
Introduction: In the vibrant world of cannabis, terpenes play a crucial role, contributing not only to the plant’s distinctive aroma


